Janam Palm Desktop
This is an updated link to the palm desktop for the Janam Palm units

This is an updated link to the palm desktop for the Janam Palm units
We were having continually and known errors with the onebridge sync process with Palm database files with ink fields. We use them to store the signatures. This process uses the onebridge backup command which makes a backup of the signature.pdb file on the server and appends the handheld name, date and sync time to give a unique file.
When the sync is complete we send a blank signature pdb file.
From access this function checks the folder for saved pdb files and uses the sat forms SFConvertPDB.exe to make a dbf then loads the signature images into the database.
We have a few local tables we use for our purposes but this code sample would give you a heads up. If you need the sample files register on the site and I will send you the mdb file.
Function LoadData()

Dim rst As Recordset, rstSource As Recordset

If Me.chkStart Then  ' if ticked start the function

    CurrentDb.Execute ("Delete * from tblFiles") ' clear out the temporary table
    Call ListFilesInFolder(Me.txtLocation) ' loads the name and location of the files

    Set rst = CurrentDb.OpenRecordset("select * from tblFiles")
    If rst.RecordCount > 0 Then
        rst.MoveFirst
        Do While Not rst.EOF
            If Len(Dir(Me.txtClearing & "EHCSM0300_TBLSIGN.PDB")) > 0 Then
                'clear existing file
                Kill Me.txtClearing & "EHCSM0300_TBLSIGN.PDB"
            End If
            CurrentDb.Execute ("Delete * from tblsign")
            FileCopy Me.txtLocation & rst!Filename, Me.txtClearing & "EHCSM0300_TBLSIGN.PDB"

            Shell "cmd /c" & Me.txtClearing & "LoadSign.bat", vbHide
            Call sSleep(5000)

            Set rstSource = CurrentDb.OpenRecordset("tblSign")
            If rstSource.RecordCount > 0 Then
                DoCmd.SetWarnings False
                DoCmd.OpenQuery "qryLoadSign"
                DoCmd.SetWarnings True
            End If
            FileCopy Me.txtLocation & rst!Filename, Me.txtClearing & "Backup" & rst!Filename
            Kill Me.txtLocation & rst!Filename

        rst.MoveNext
        Loop
    End If

    DoCmd.Quit
End If
End Function
And the other function
Function ListFilesInFolder(SourceFolderName As String)
Dim FSO As Scripting.FileSystemObject
Dim SourceFolder As Scripting.Folder, SubFolder As Scripting.Folder
Dim FileItem As Scripting.File
Dim r As Long
Dim rst As Recordset
Set rst = CurrentDb.OpenRecordset("select * from tblFiles") '  'CurrentDb.OpenRecordset("select * from tblFiles")

    Set FSO = New Scripting.FileSystemObject
    Set SourceFolder = FSO.GetFolder(SourceFolderName)
    For Each FileItem In SourceFolder.Files
        If Right(FileItem.Name, 8) = "SIGN.PDB" Then
            rst.AddNew
            rst!Filename = FileItem.Name
            rst!FileLoaded = Now()
            rst.Update
        End If
    Next FileItem
    Set FileItem = Nothing
    Set SourceFolder = Nothing
    Set FSO = Nothing
'    MsgBox "Done"
End Function
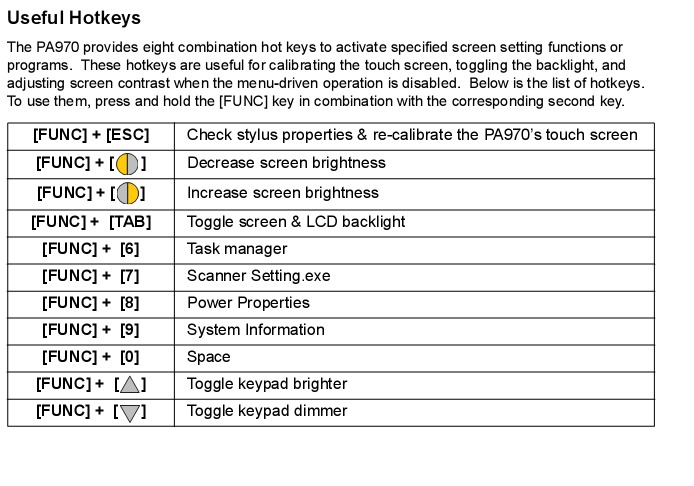
The following section from the unitech manual lists the common function key settings
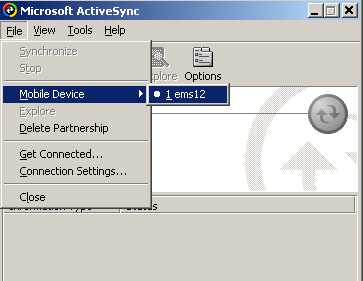
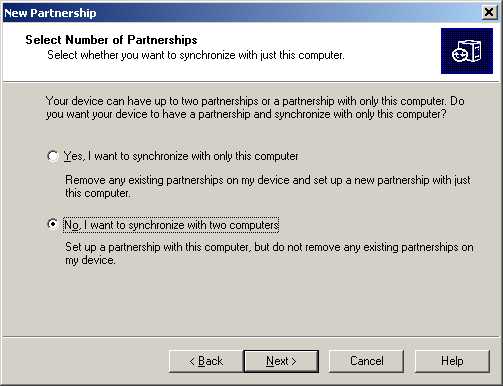
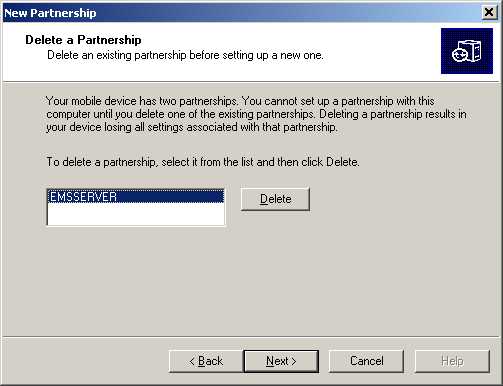
1. From the Active sync screen , click on file , mobile device and then select the device name to delete
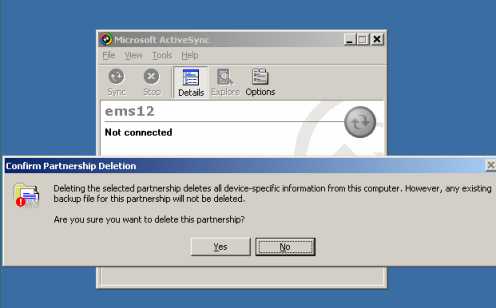
2. Select File , delete Partnership and Select Yes to the message that is displayed
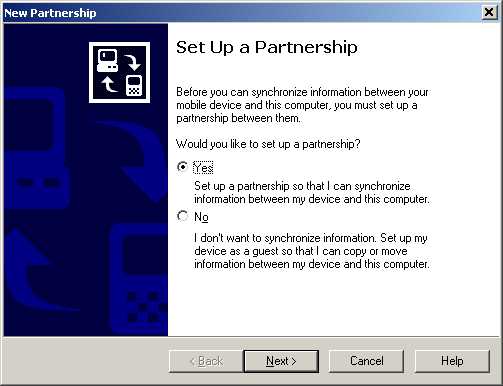
1. Choose Start programs Bluetooth, BT Power, Select ON and OK
2. Choose start, Settings, Control panel
3. Choose Bluetooth device properties
4. Choose scan device
5. The Printer will appear in the list
6. Tap the printer and Choose TRUSTED, you will be prompted to authenticate the device.
7. Select YES
8. For Exetech printers the code is “1” for Star devices the code is “1234”
9. Tap printer again and tick ACTIVE
10. TAP OK to close window.
11. Choose Start , Programs, Bluetooth, BT Printer
12. A printer dialogue window might open if it does not there will be a black icon at the bottom of the window, tap it and it will open to a dialogue box.
13. Choose INQUIRY
14. The printer will appear in the list
15. Tap the printer and click OK
The biggest problem is if BT power turns off. You need to turn it on again. This happens if the Handheld power drops below a min level or a warm restart is done.
User Issues
Error Code 2404
This sounds like the BT printer is already active, try a warm boot through utilities boot mode warm restart. Then turn BT power on through Start, Programs, Bluetooth, BT power then turn on BT printer and deregister the existing printer and user inquiry to find the printer again.